
I get this kind of questions a lot: “What should my son be doing between games to keep his arm healthy this season?”
Pitching is a pretty high risk/high reward pursuit. When things are going right, there’s nothing better… but as any pitcher who’s ever been injured can tell you, it doesn’t take much for that to all come to a screeching halt.
A lot of factors come into play here, but one thing you can do to give yourself the best shot at staying healthy performing your best is improving how well you recover between games.
This means addressing the entire body – not just your arm – and really every part of the process – before, during and after you pitch.
Conventional approaches like running and icing are fine (click here for more on why distance running might not be the best idea), but if that’s all you do, you’re missing out on some things that can really help you get back to full strength more quickly. So here are 3 simple tips for improving your recovery process.
1. IMPROVE YOUR WARM UP
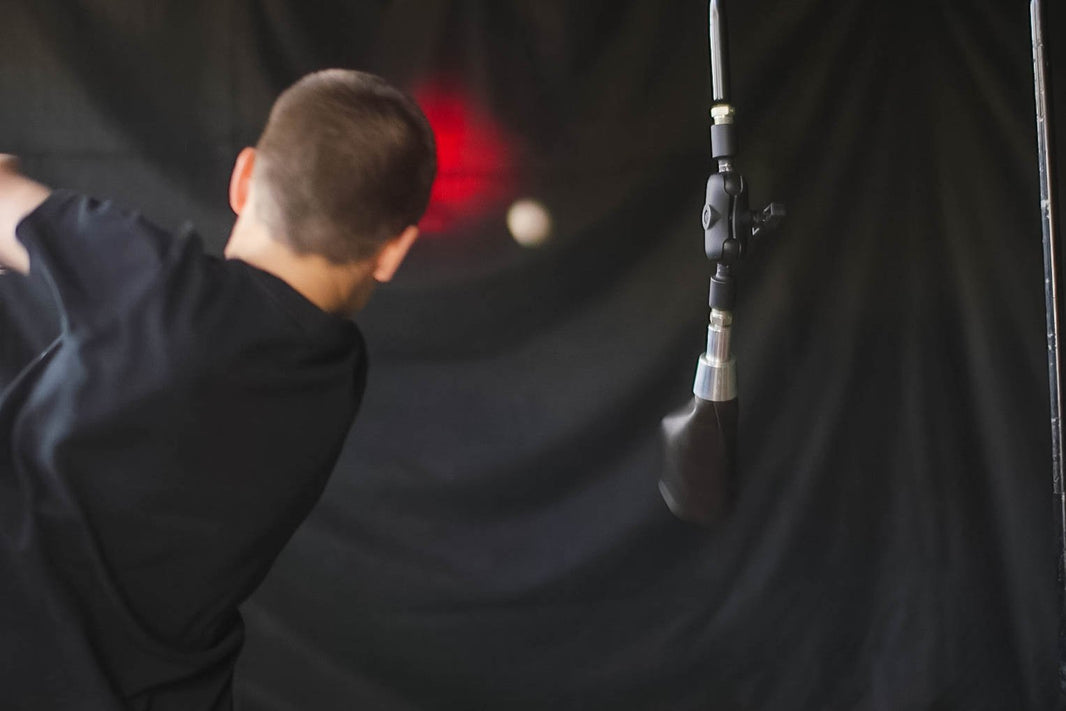
What you do before you throw can have a big impact on how well you recover after you throw… There’s a great expression I use all the time with my guys: “Warm up to throw, don’t throw to warm up.” Too often, I’ve seen youth baseball games where the players just show up, grab their gloves and start throwing… this is basically how they “get loose.” No good… here are some tips for improving your warm-up.
Pre-Warmup Soft Tissue work (foam roller, etc): Soft tissue work like foam rolling can be great prep work and has been shown to aid in recovery. Joe Hashey with Synergy Athletics gives a nice foam roller demo in this video:
Dynamic Warm-Up: Go through a dynamic warm-up with an emphasis on mobility and good movement patterns… this doesn’t need to take forever, but a good rule of thumb is you want to at least warm up to the point of light perspiration.
In the Ballistic Pitching Blueprint, I provide a complete Dynamic Warm-Up you can do anywhere in just 5 minutes. We follow that with a light performance bands routine to continue the warm-up and activate all the muscles in and around the throwing arm.
2. MONITOR YOUR PITCHES
This should be fairly obvious, but one of the best ways to avoid becoming overly sore after you pitch is limiting your pitches (ASMI and Little League have put out recommended guidelines, and these are certainly a good place to start). This responsibility generally falls on the coaches (they’re the ones deciding who pitches and who doesn’t, after all).
But if you’re serious about your future in pitching, you owe it to yourself to take ownership of this process. Have someone you trust, whether a parent, friend or teammate, keep track of your pitches.
When I was in the Indians organization, if you threw more than 30 pitches in an inning you were done – you weren’t going back out there next inning. So if you were a starter, and you maxed with 30+ pitches in the 1st inning, you headed to the bullpen and got the rest of your work in down there – in a controlled environment – to get to your desired pitch count.
Now there’s something to be said for letting young pitchers get out of jams, and not babying them… but there’s also being smart when it comes to understanding the risk factors that increase the chance of injury. Plus knowing we had that 30 pitches/inning limit was pretty good incentive to stay focused on attacking the strike zone and being economical with your pitches.
As I’ve discussed before, the #1 risk factor for youth pitching injuries is pitching with fatigue. One way to minimize fatigue is making sure you’re properly conditioned to pitch. But often times, fatigue stems from overuse… or as Mike Reinold points out in this recent article, flat-out abuse:
Are We Putting Our Kids at Risk for Youth Baseball Injuries?
3. IMPROVE YOUR POST-PITCHING ROUTINE
What you do immediately after you throw can also have a meaningful impact on how well you recover. Here are some simple suggestions for maximizing your post-throwing routine.
Light Cardio: Nice and easy, just working on increasing bloodflow and getting some good deep breathing to increase oxygen intake. The idea here is to circulate the blood and deliver nutrients where they’re needed. In the minors, they used to put us on a stationary bike in the training room, but a light 5 minute jog works just fine, too.
Mobility Exercises: Another option I really like is just going through a full Dynamic Warmup routine after you throw. You engage your whole body, get the arms, legs and core working, and get bloodflow to the areas it’s needed most.
Post-Throwing Stretching: Key here is understanding what you’re trying to accomplish… the goal is maintaining range of motion by addressing areas that get tight after pitching. So don’t go stretching things that are already loose – for example, stretching for more external rotation after you pitch is pretty counter-productive.
Pitchers tend to lose internal rotation from pitching, so the Sleeper Stretch can be an effective way to maintain or regain any lost range of motion.
Eric Cressey also offers a free “Post-Throwing Stretching Series” on his site – just scroll down to the bottom for the download (there’s a ton of great content there, too).
Icing: This has become a little controversial (some guys avoid it, others swear by it), but the bottom line for me is that icing can help reduce inflammation – for many, icing may not be necessary, but I personally always felt better when I iced. Perhaps I’ll dig more into the debate in a future piece, but basically, inflammation is bad for recovery… icing prevents inflammation when done appropriately.
Some tips when icing:
1. Use a large bag with a lot of ice (crushed ice is best)
2. Avoid placing ice directly on the ulnar nerve (funny bone) – you can line with a towel to prevent freezing
3. 10-15 minutes on, 20 minutes off is a good rule of thumb (repeat as desired). Leaving ice on longer than that can be counter-productive.
*Special Note: since writing this post, more and more evidence continues to point towards icing being unnecessary in many cases (or even potentially counterproductive to the recovery process). If there’s any step in this “post-pitching routine” I’d be okay skipping, it would be icing. Here’s a good post from Josh Heenan that goes into more detail: Should You Use Ice, Aleve, or Ibuprofen After You Throw?
Refuel Better! This is pretty common sense stuff, but when pitching you’re exerting a lot of energy – short bursts of power, again and again. This takes a toll on your muscles and tendons. And just like with weight training or any other high performance activity, what you put in your body immediately afterwards can have a big impact on your recovery.
Some common sense tips for refueling after you pitch:
1. Get some carbs and protein within 30-40 minutes: Have a high carbohydrates meal (restores glycogen), followed by a high protein source (aids in the rebuilding & recovery process). An energy bar and protein shake are a pretty good combo.
2. Hydrate: Drink a lot of water… water’s a pretty amazing thing, plus its FREE so there’s really no excuse for skipping this step.
And lastly…. Get plenty of sleep!